
How To Style The Perfect Cheese Board

Cheese boards are the perfect appetizer to serve at gatherings - you can assemble one ahead of time and it requires no cooking or extra work upon serving, which means more time for you to prepare the main dish and socialize with your guests. But how do you make your cheeseboard look amazing? Here are a few simple steps to transform your board into a beautiful visual statement.
1 - CHOOSE A CHEESE BOARD WITH CHARACTER
You can’t go wrong with a beautiful wood or marble cheeseboard. Make sure it's large enough to accommodate enough food for your entire group - you'd be surprised how quickly a board can fill up, so opt for a slightly larger one just to be on the safe side. My favorite boards are vintage, but there are lots of beautiful ones available at retail stores too. If your board is unsealed wood and you’re worried about getting it dirty, you can always add a small lining of parchment paper or fig leaves underneath the food items.
2 - GATHER A VARIETY OF INGREDIENTS
Now it's time to go shopping! When choosing cheeses and accoutrements, vary the shape, color, size, and flavors so that your board feels balanced and interesting, both to the eyes, and to the palette. For cheeses, I’d suggest getting a very soft spreadable cheese, a few hard cheeses in different colors, and something a bit exotic and unexpected. Some ideas for pairings are: nuts, berries, dried fruit, cornichons, fig jam, honeycomb, olive tapenade, or caramelized onion jam - think crunchy, salty, sweet, or briney!

3 - COLLECT SMALL DISHES
Small bowls and tiny dishes are a good way to add even more variance and height to your cheese platter composition, and they are essential for containing sauce-like components or small items such as nuts and olives. My favorites are handmade or vintage - you can find so many amazing potters on Etsy. These hand bowls are beautiful and I’m partial to this petite pair of vintage French bowls from my prop line. You can also shop antique or thrift stores, or try attending a local craft fair to start building an artisan collection.
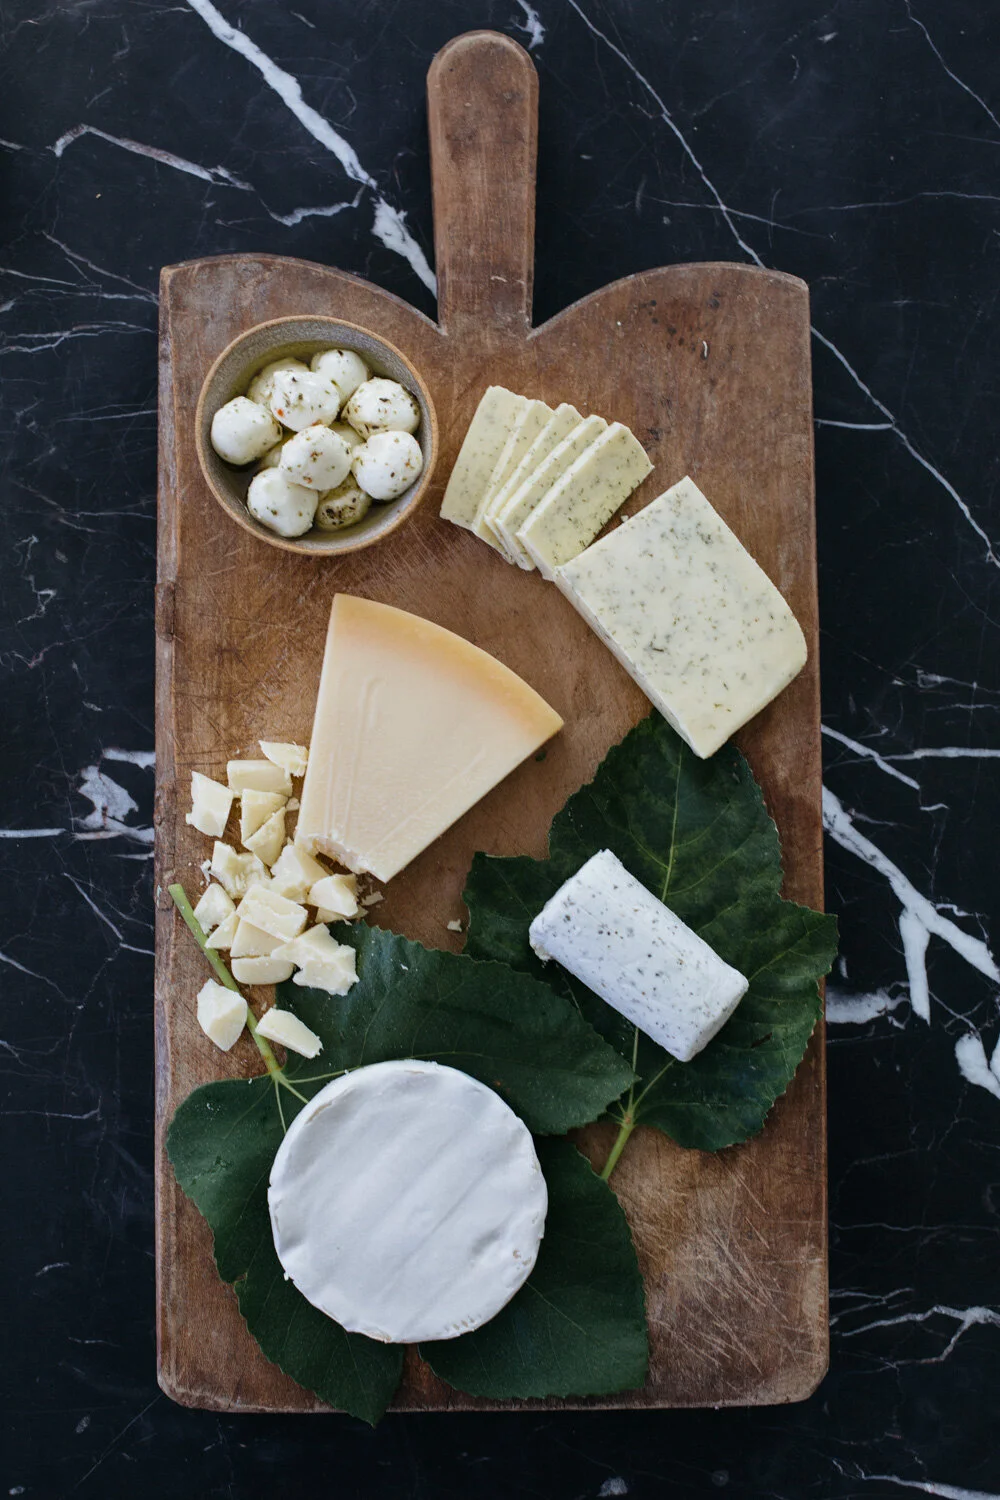
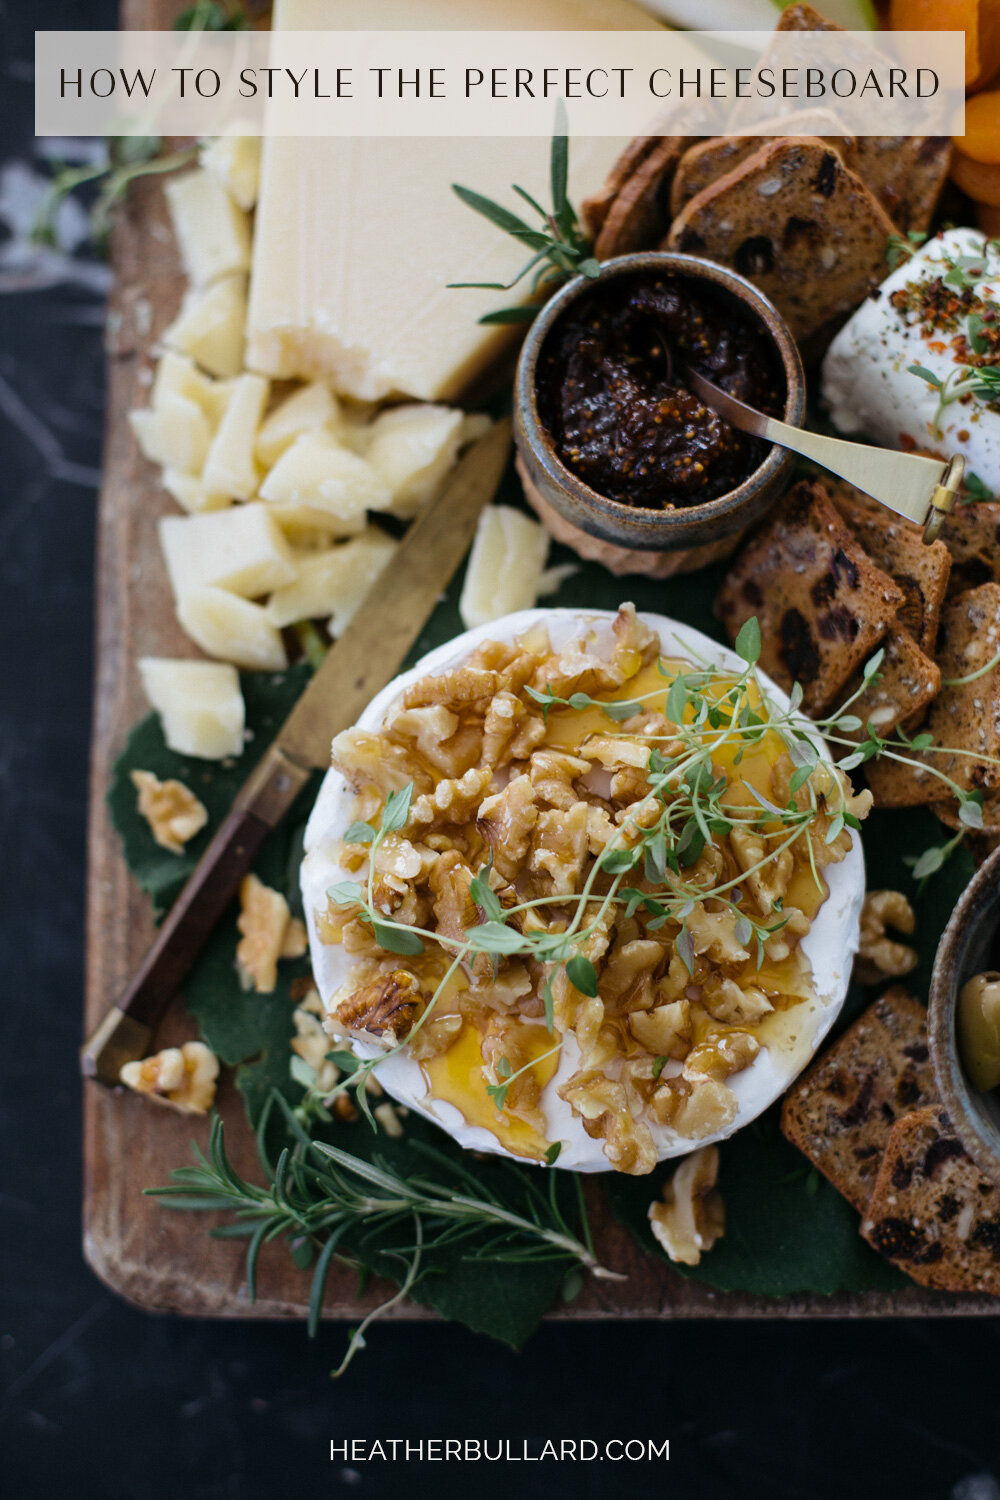
4 - CREATE HILLS AND VALLEYS
Think of your cheese board in terms of a landscape with hills, valleys, and rivers. Start by placing the cheese selections apart from one another throughout the board. Then, begin filling in the spaces between with smaller items. Think of the largest and tallest items as your “hills” and the shorter smaller items as “valleys.” After those items are placed, you can create “rivers” that flow through the valleys, such as a curving line of crackers, nuts, or fruit weaving through the board.
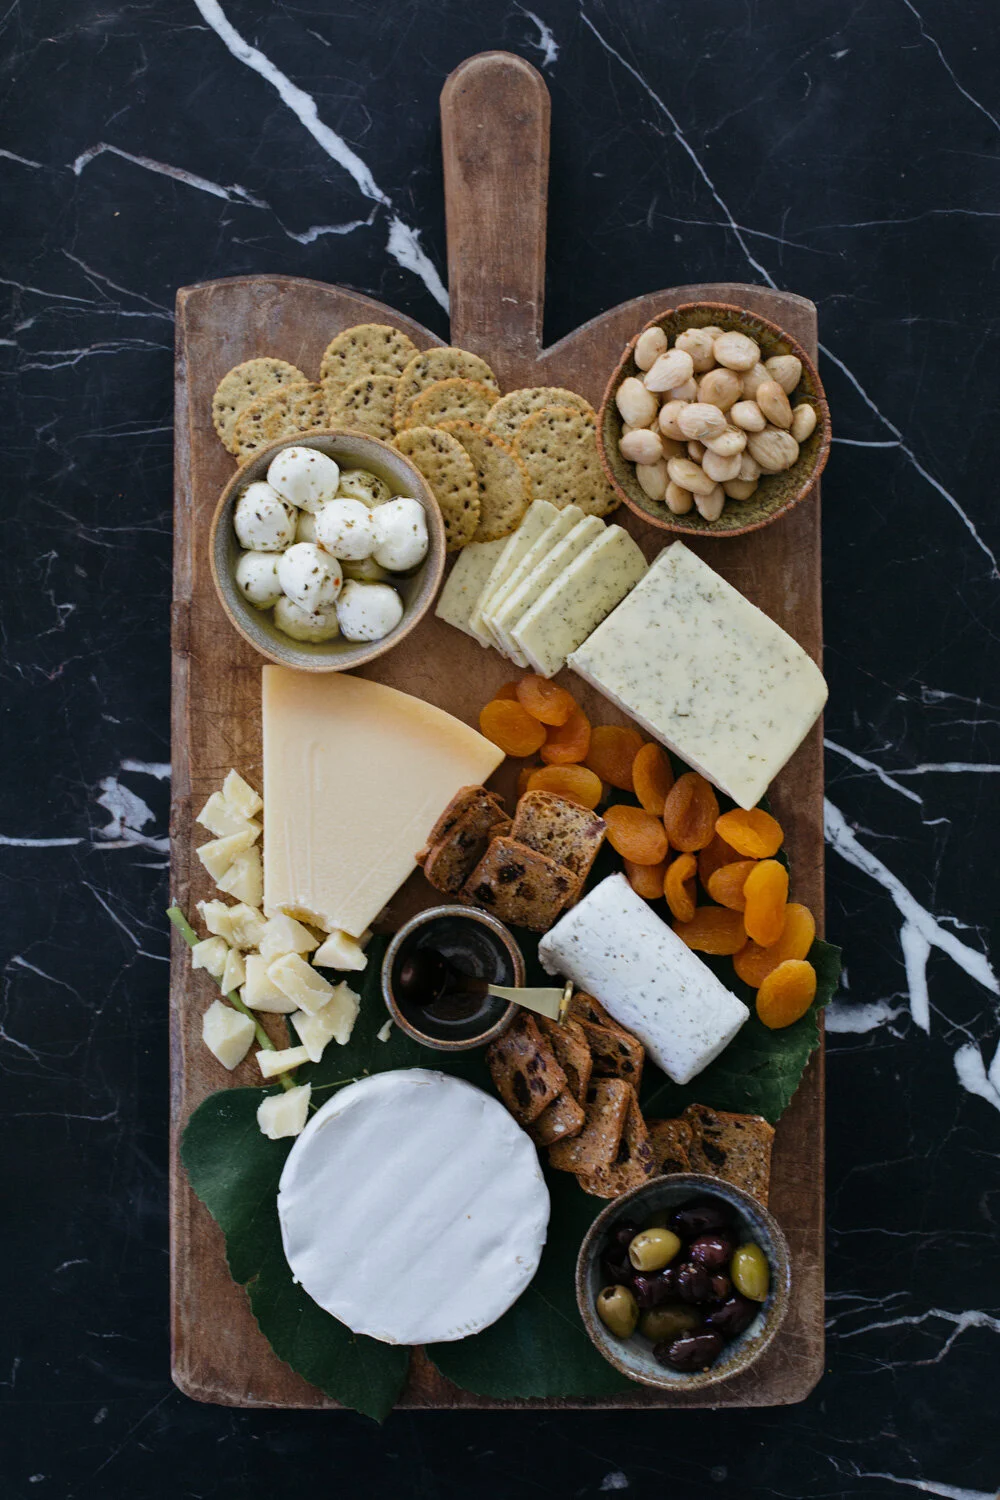
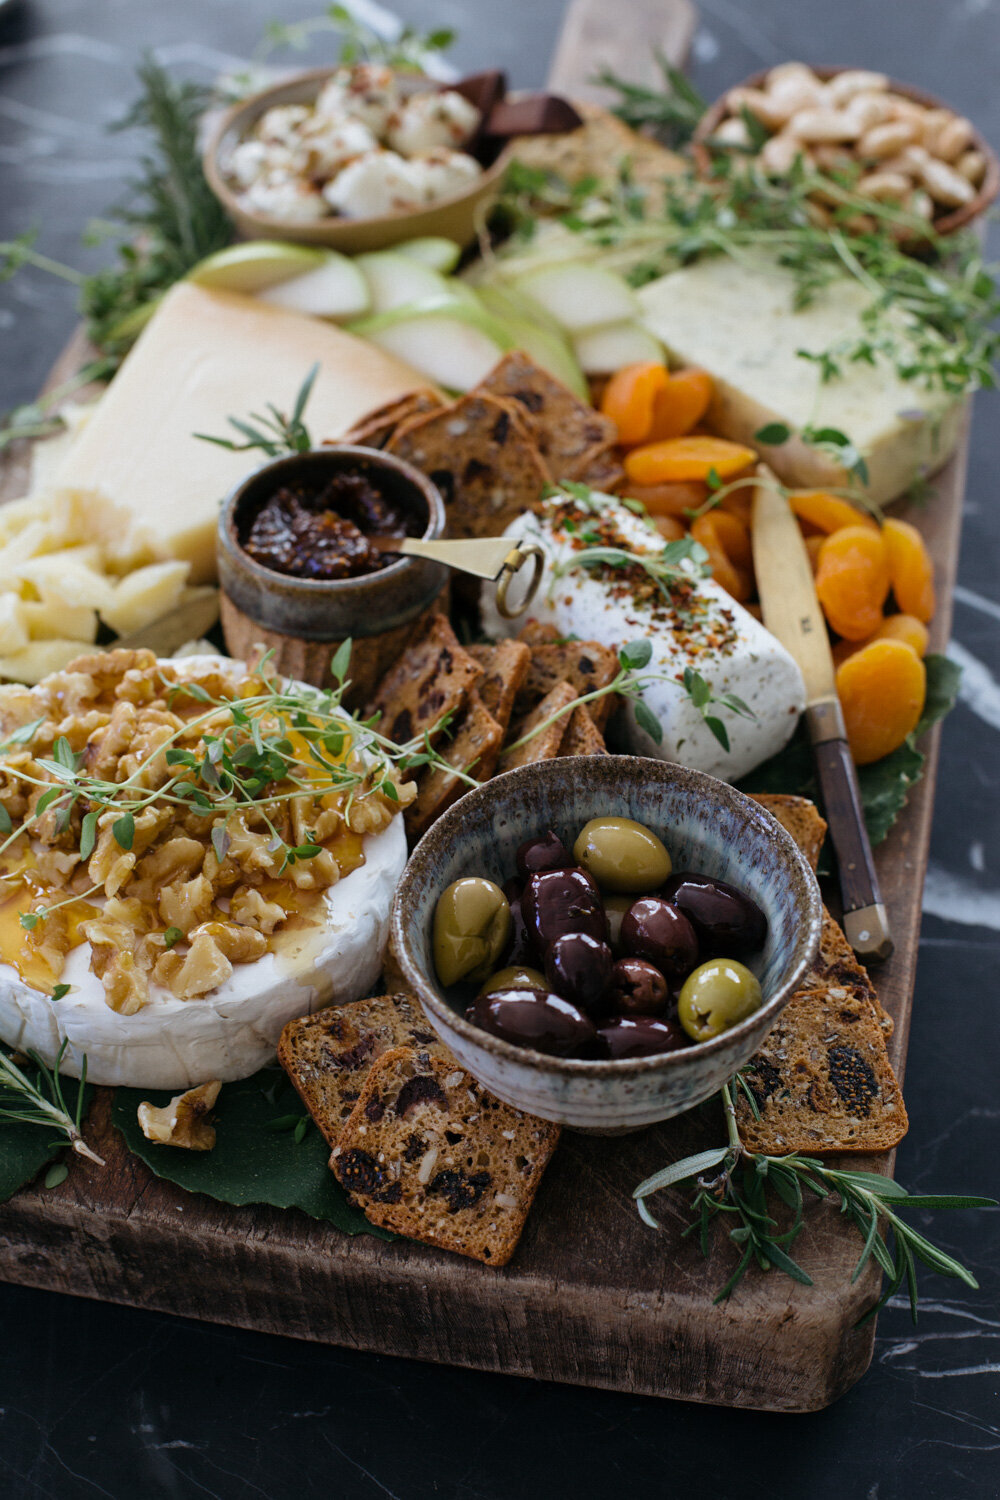
5 - FINISH WITH FRESH HERBS
Head outside and clip some greenery (make sure it’s edible and safe!), or pick up some fresh herbs at the store, and sprinkle them sparingly around your cheeseboard for a lovely pop of green. It will instantly enliven the board, especially if most of your cheeses are neutral in color. Occasionally, I’ll add a small vase of fresh rosemary or sage which helps create height on the board.
BONUS TIPS:
Don’t over-complicate it! Keep it practical. Gather items from your own collection of dishes, there’s no need to shop. Stock up on non perishable pantry items for quick assembly: olives, jams, crackers, honey, pickles, and nuts are pantry items I always have on hand. And lastly, have fun! Your guests are there to enjoy your company and will appreciate your effort to make them feel welcome.

BUILD YOUR PERFECT CHEESE BOARD
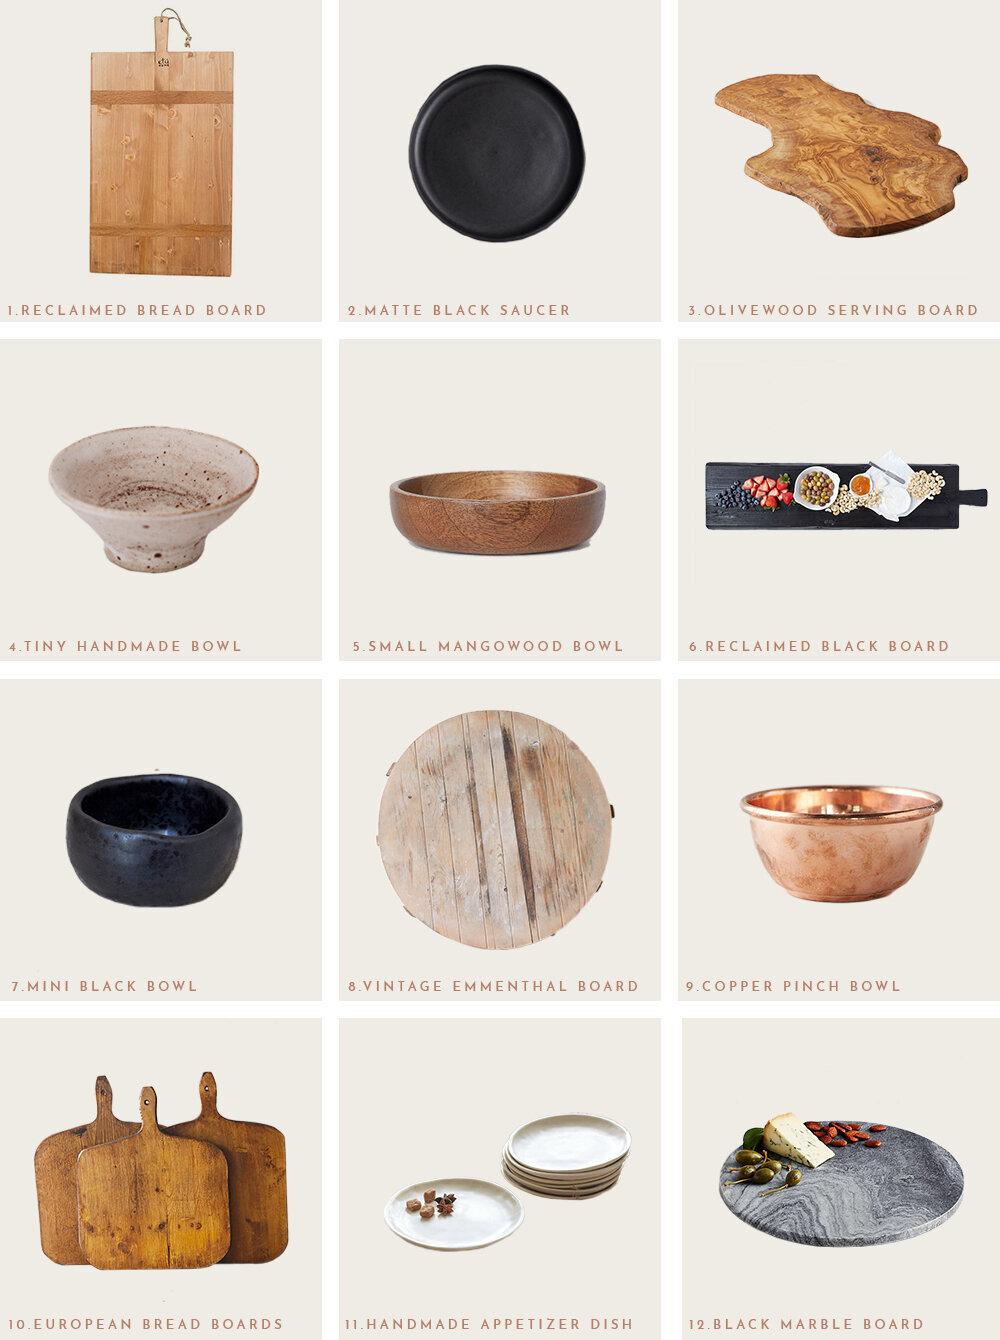
1-Reclaimed Bread Board | 2-Matte Black Saucer | 3-Olive Wood Serving Board | 4-Tiny Handmade Bowl | 5-Small Mango Wood Bowl | 6-Reclaimed Black Board | 7-Mini Black Bowl | 8-Vintage Emmenthal Board | 9-Copper Pinch Bowl | 10-European Bread Boards | 11-Handmade Appetizer Dish | 12-Black Marble Board
PS. Between posts you can find me on Instagram sharing highlights of daily life.
If you’d like new posts delivered to your inbox - subscribe here!