
Kitchen Planning & Installation
For me, the most exciting part of the building process was the kitchen installation. It was thrilling to see all my ideas and planning come to life. Giddy is more like it. Today, I thought I'd walk you through some of the planning decisions I made for the kitchen and talk about the process.
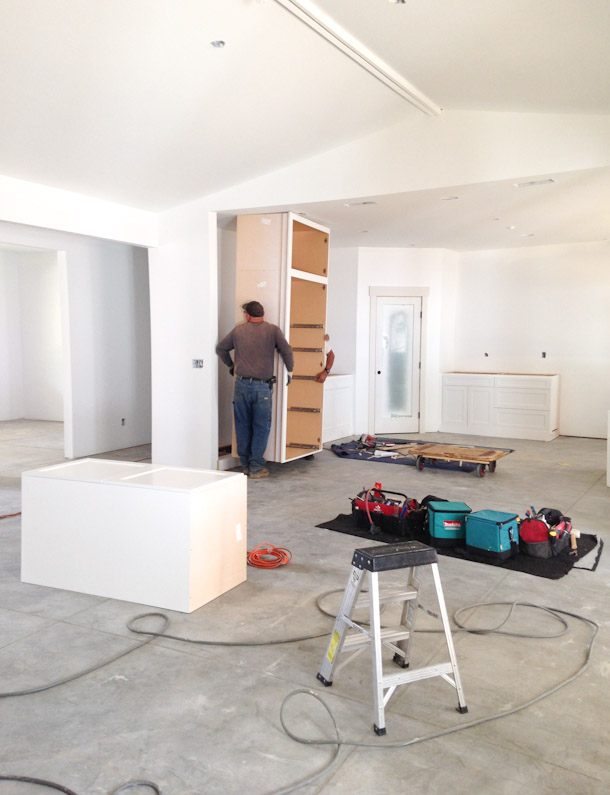
As I mentioned earlier, there are three main walls in the kitchen. I wanted to keep the design simple, and be very easy to navigate. Keeping in mind, the space needed for entertaining and workflow. This wall is for the Sub Zero, a large pull-out dish pantry, and the coffee station.
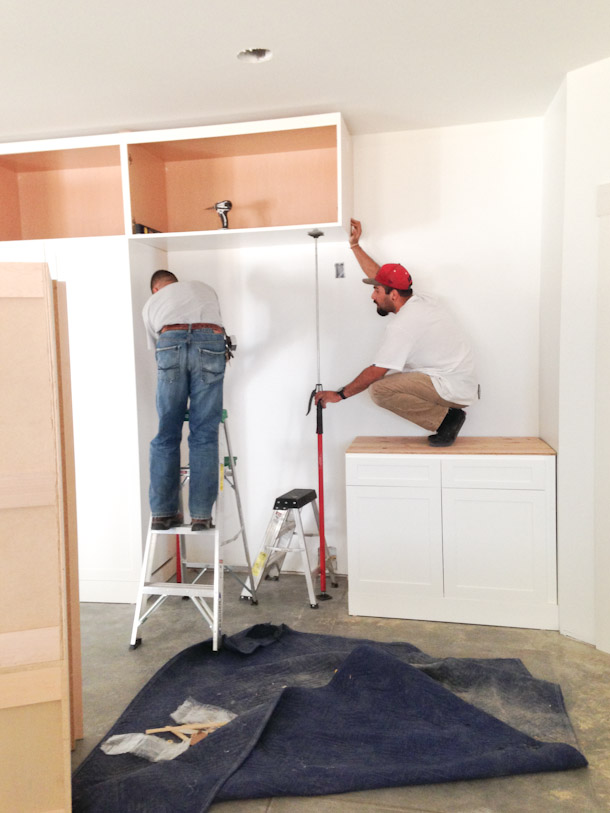
Since I didn't want to have any hanging or drop down cabinets, I had them designed from floor to ceiling..utilizing every inch of space available. The upper cabinets are for things like punch bowls, large serving pieces and seldom used kitchen items. The walk-in food pantry is just to the right.

All the cabinets were designed with either pull-out trays or drawers. And I can't say enough about how handy that feature is! The coffee station (above right) will have a marble countertop and floating marble shelf above for coffee cups and accoutrements. I thought the marble would be a nice design element instead of a standard wood shelf.

Here, the painting is still in process, but you can see the floor plan of the kitchen. I'm very happy with the layout and at just under 600 sq ft...the size feels like a luxury compared to my previous kitchen. I chose white laminate glass for the Shaker style pantry door from Preferred Windows & Doors. They were so incredibly helpful and professional. I can't recommend them enough! The Wolf range will go into the opening on the center wall with salvaged wood shelving on either side, and the sink and dishwasher are under the 12' window.
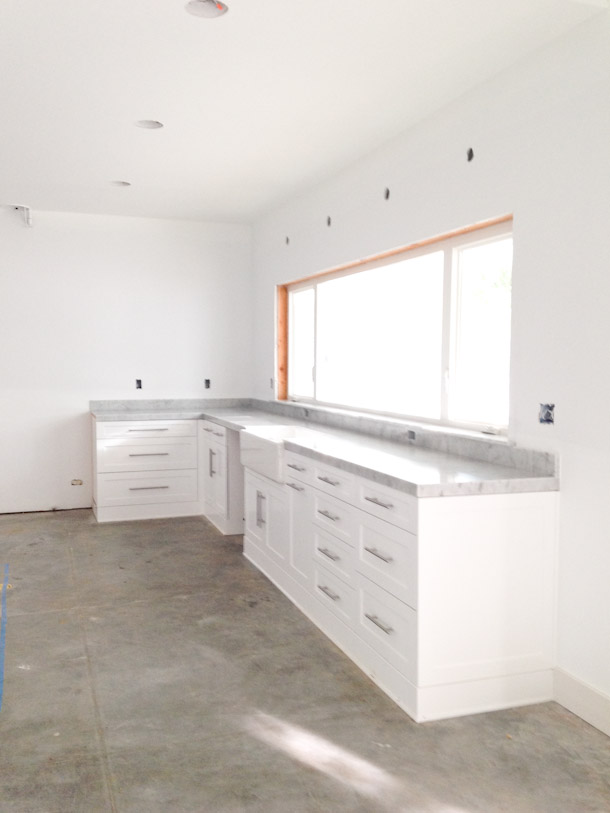
For the perimeter counter tops, I chose Bianco Carrara Marble and had them cut a 2" mitered edge. This gave the counters a more substantial look, which works nice in large spaces. And more importantly, keeps you from having an exposed seam. It's one of those little details, you know?
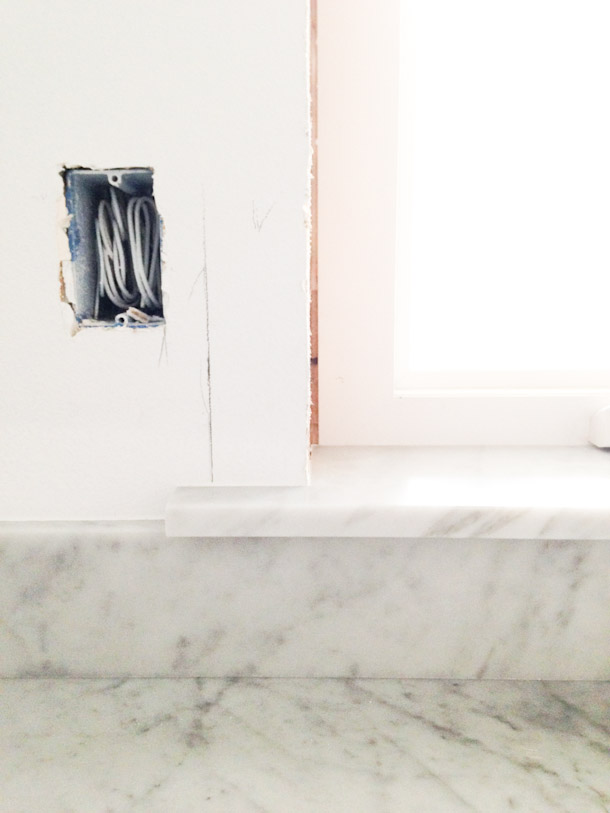
I also had the 6" deep window sill made out of the marble so I can set herb pots and little plants on it without having to worry about wood rot. To streamline the space between the sill and countertops, we added a 4" backsplash also out of the marble, and then carried it around the room to unify everything. (Sorry for all the cell phone shots...it was just easier during the construction.)

Above you can see how the appliances fit in and the lighting. (I'll do a separate post on lighting in the future!) And below, is a progress shot of the marble tile wall installation. I chose to do 4 x 12 Carrara tiles all the way to the ceiling. The larger size is perfect, as I think smaller tiles would have looked too busy for my preference. Scale is a very important, but often overlooked component and I tried to keep this in mind when designing the space.

After the marble was finished, we started on the salvaged wood shelving! And things were beginning to take shape!
Between posts you can find me on Instagram (heatherbullard) sharing the little things in life.